Meta Tech Provider
Help Center - Articles Detail
Getting Your Facebook Business
Manager Account Verified (Using Wavixo)
A complete step-by-step guide to verify your Facebook Business Manager
and unlock full access to WhatsApp Business API.
Overview
The next essential step after setting up your WhatsApp Business API is Facebook Business Manager verification.
Facebook uses this verification process to confirm that your Business Manager account belongs to a legitimate business or organization.
⚠️ Without a verified Facebook Business Manager account:
You cannot access full WhatsApp Business API features
Your messaging and broadcast limits remain restricted
The good news is that you can apply for Facebook Business Manager verification alongside your WhatsApp Business API application.
Steps to Create a Facebook Business Manager Account
Documents Required for Facebook Business Manager Verification
Before starting the verification process, make sure you have the following documents ready:
Legal business details
(Business name, registered address, and contact information)
A legal document containing:
Legal business name
Legal business address
(Preferred documents: GST certificate or Bank Account Statement)
A functional business website
The footer must clearly display the exact legal business name (as per documents)
Proof of business access
An official business email ID using the same domain as your website
📌 Important Notes
Uploaded documents must be:
Clear
In colour
Fully visible (no cropped edges)
Once these are ready, you can proceed with verification.
Steps to Verify Facebook Business Manager Account
Step 1: Open Facebook Business Manager
Go to the Facebook Business Manager portal.
This will open in a new tab under your Facebook account.
Step 2: Select Your Business Manager Account
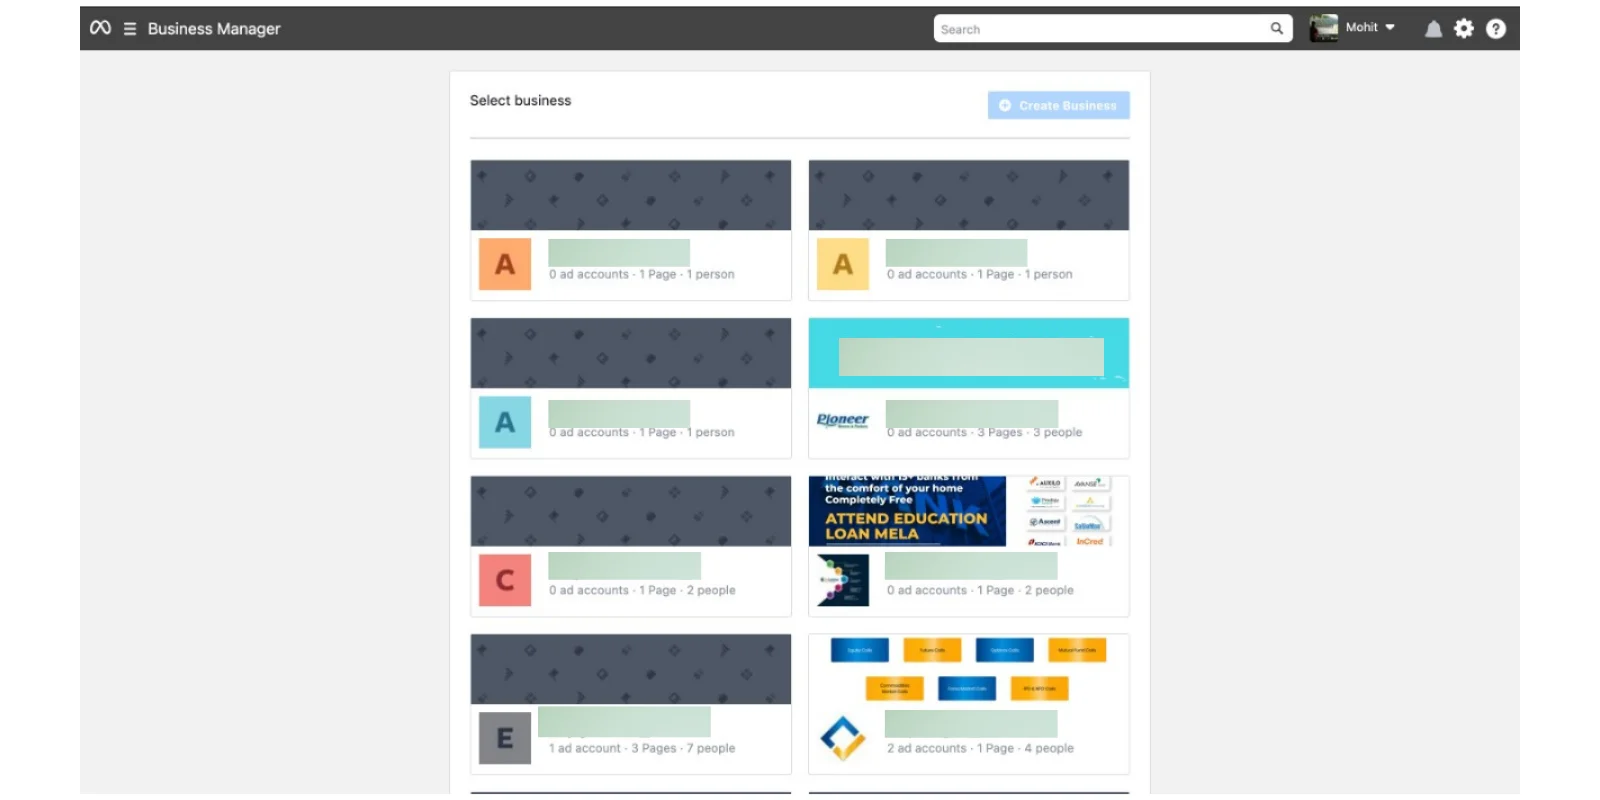
If you already have a Business Manager account, select the one you want to use for WhatsApp Business API
If you don’t have one, you can create a new Business Manager account first
📌 If you have only one Business Manager account, the Business Settings page will open automatically.
Step 3: Create a Business Manager Account (If Required)
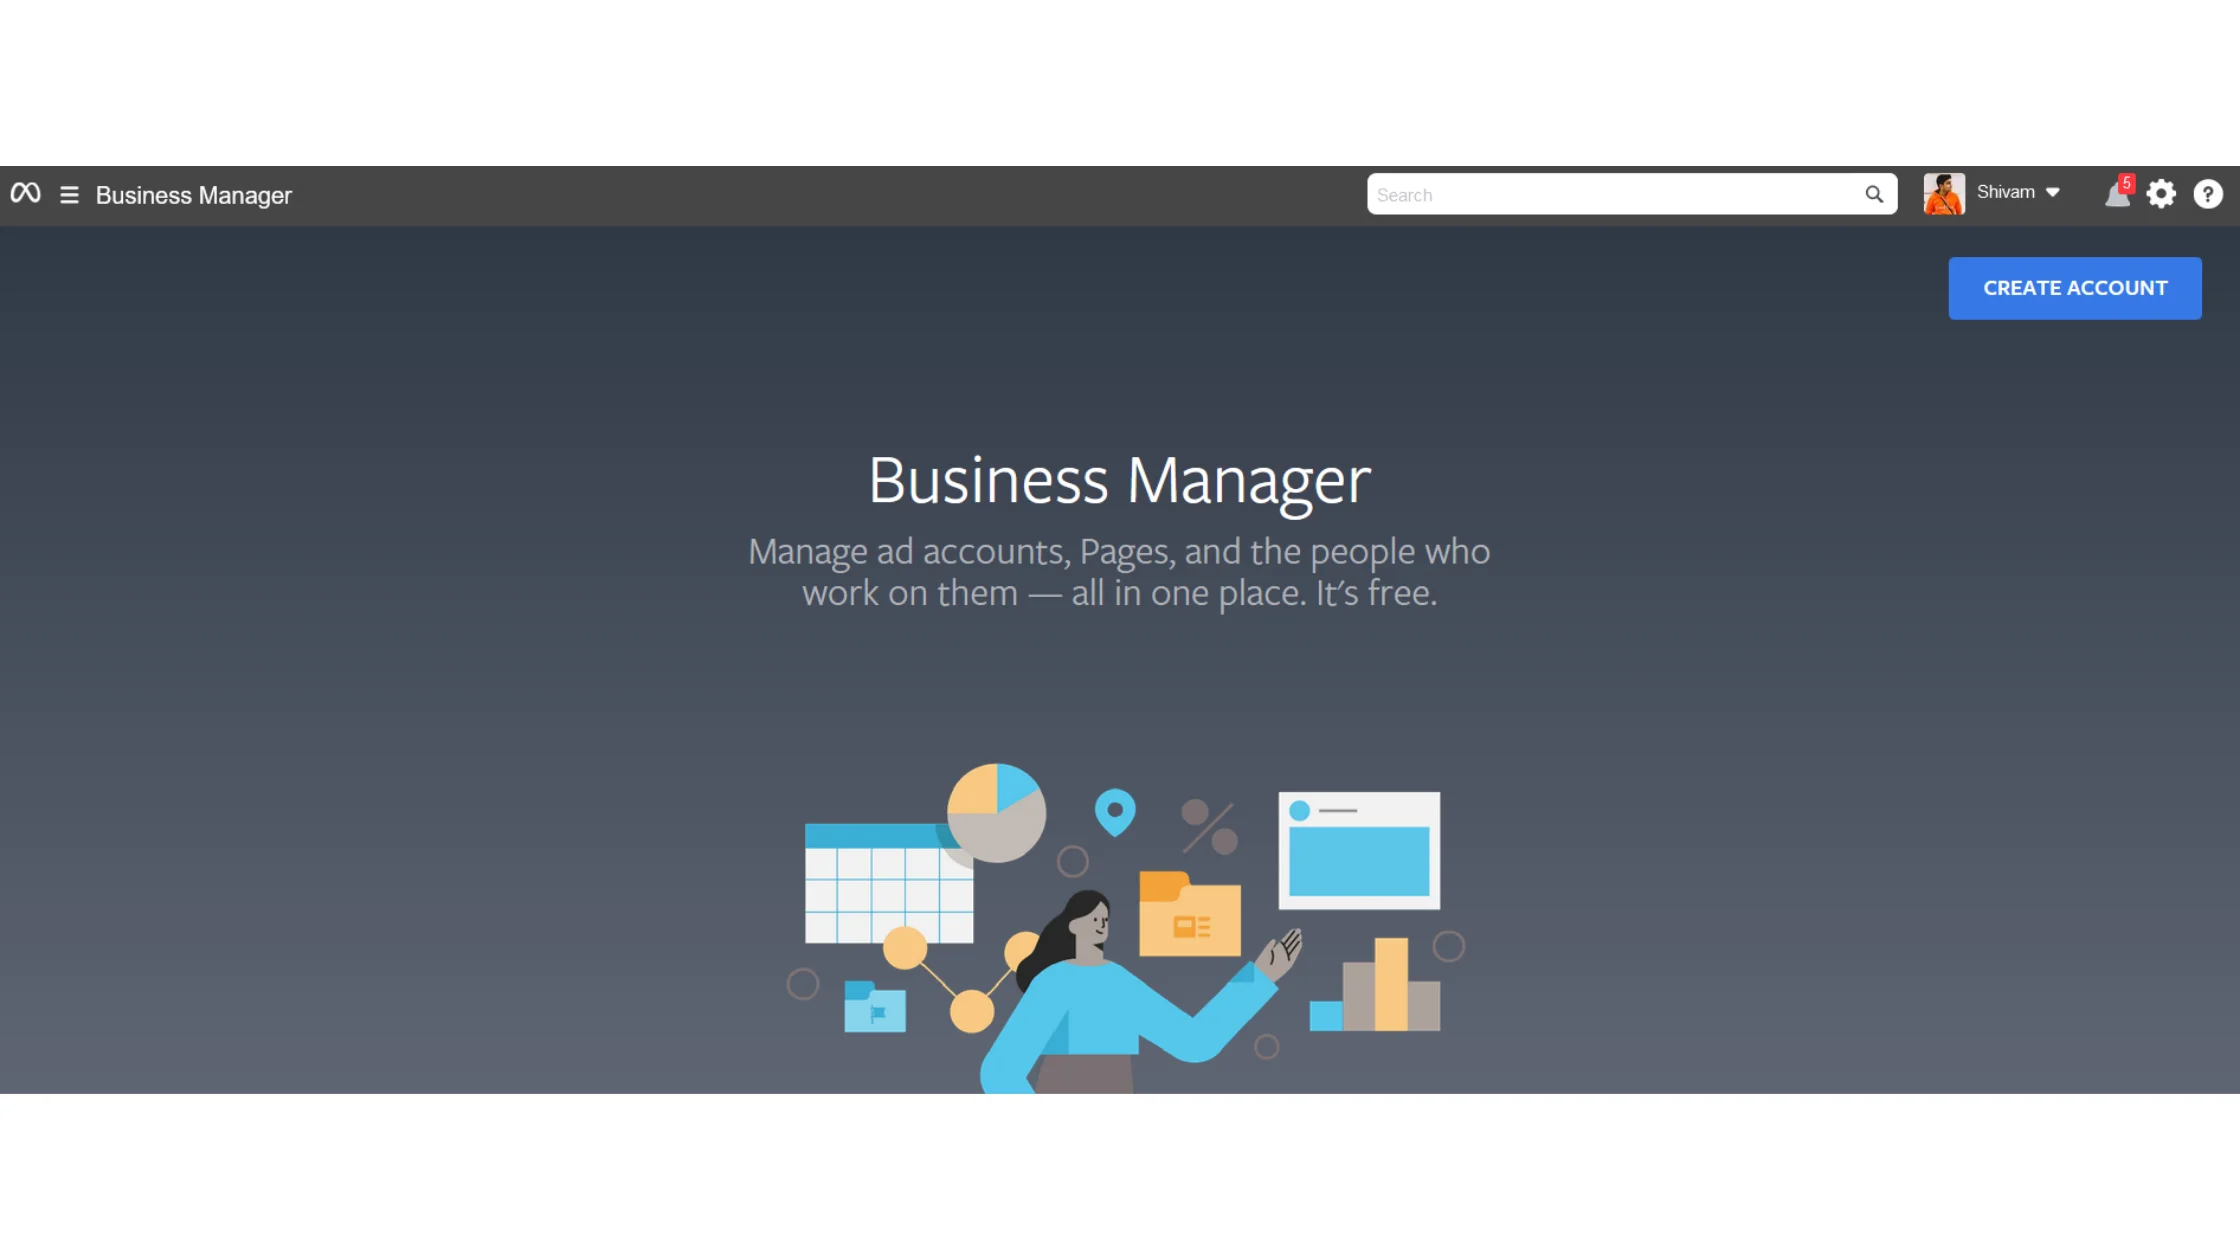
If a Business Manager already exists, select it
If not, create a new Business Manager account by following the on-screen instructions
Step 4: Go to the Security Center
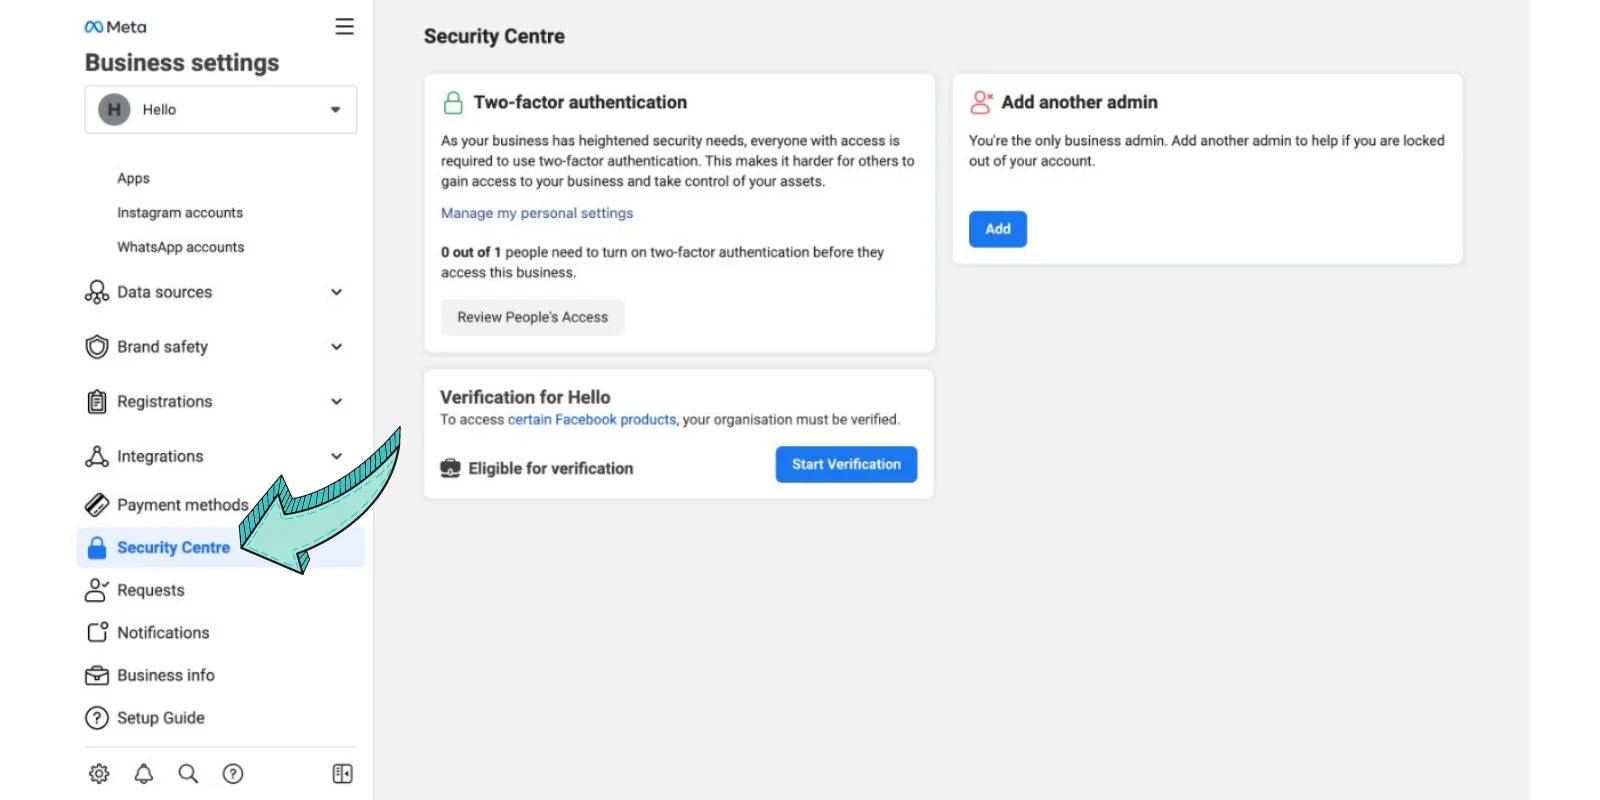
From Business Settings, navigate to the Security Center section.
This is where Facebook manages verification and security-related settings.
Step 5: Click “Start Verification”
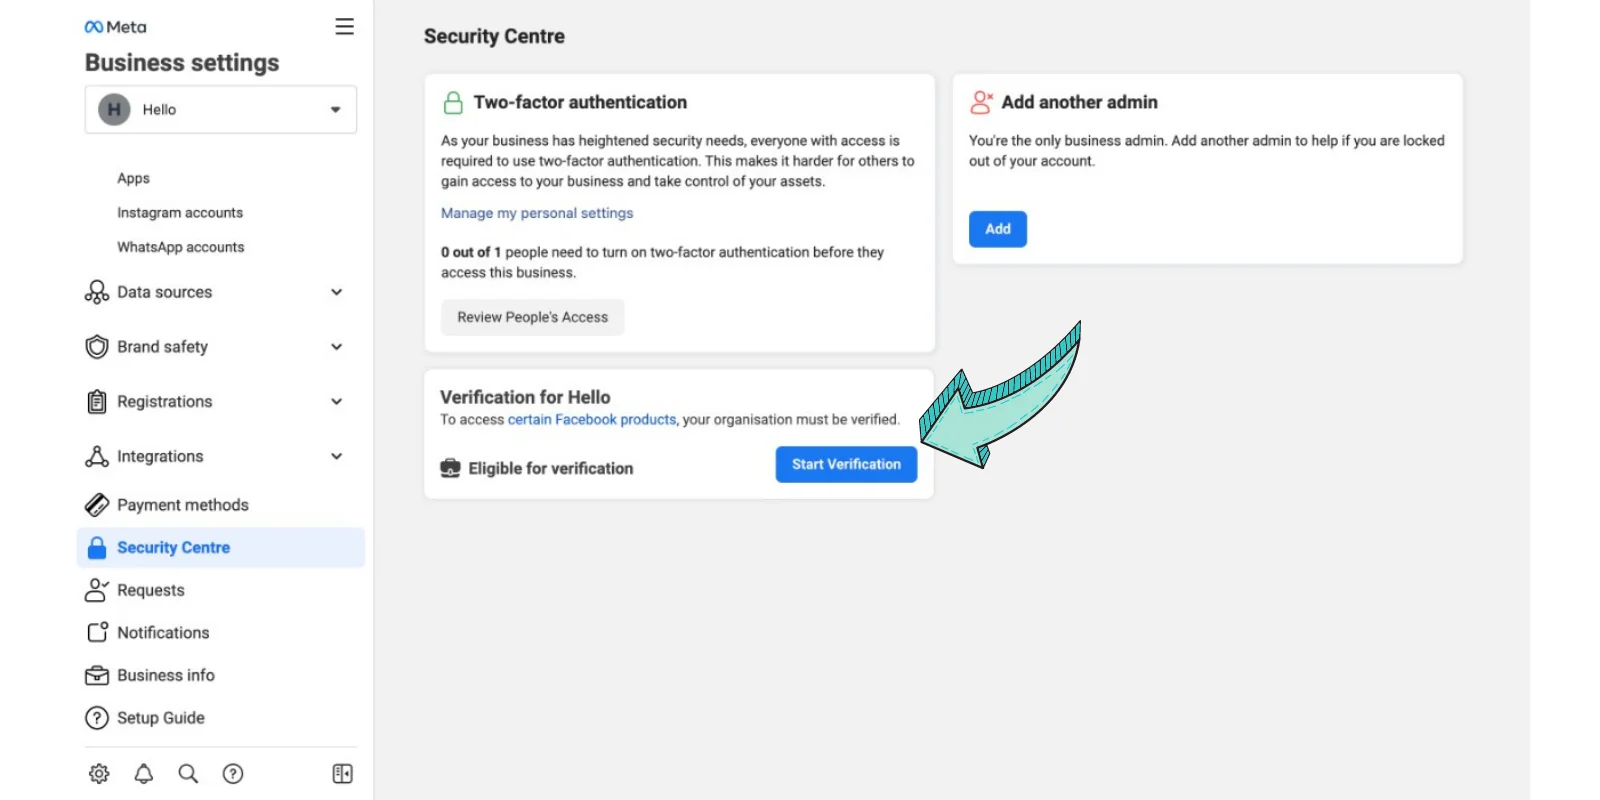
Inside the Security Center, click on Start Verification
⚠️ Important
If the Start Verification button is greyed out or disabled:
You must complete additional prerequisites to enable it
Once enabled, you can continue with the verification process
Step 6: Click “Get Started”
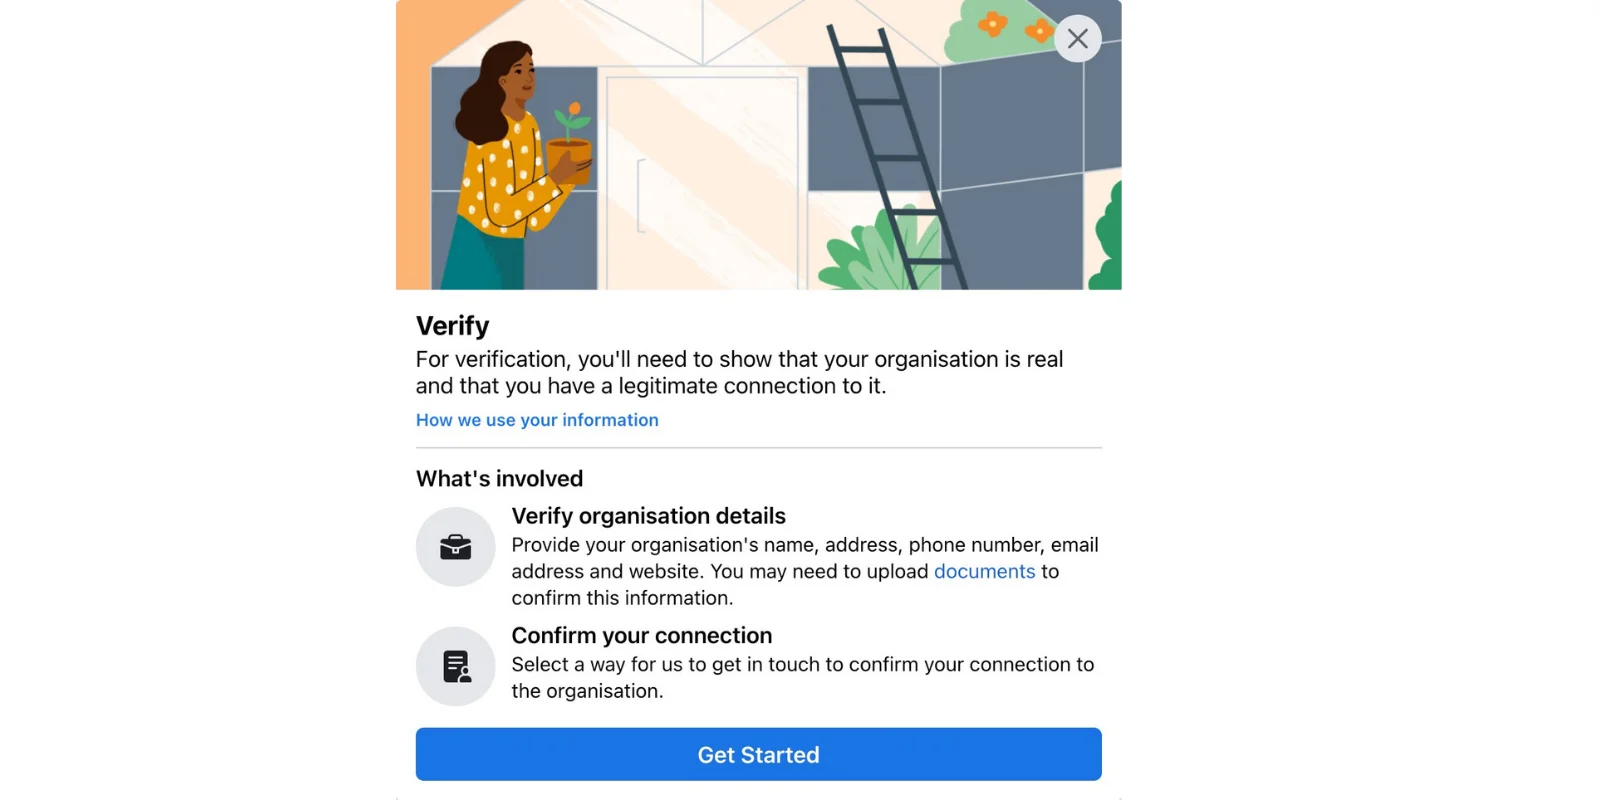
If the Start Verification button is visible, click it
On the next screen, select Get Started to begin the verification flow
Step 7: Select Your Country
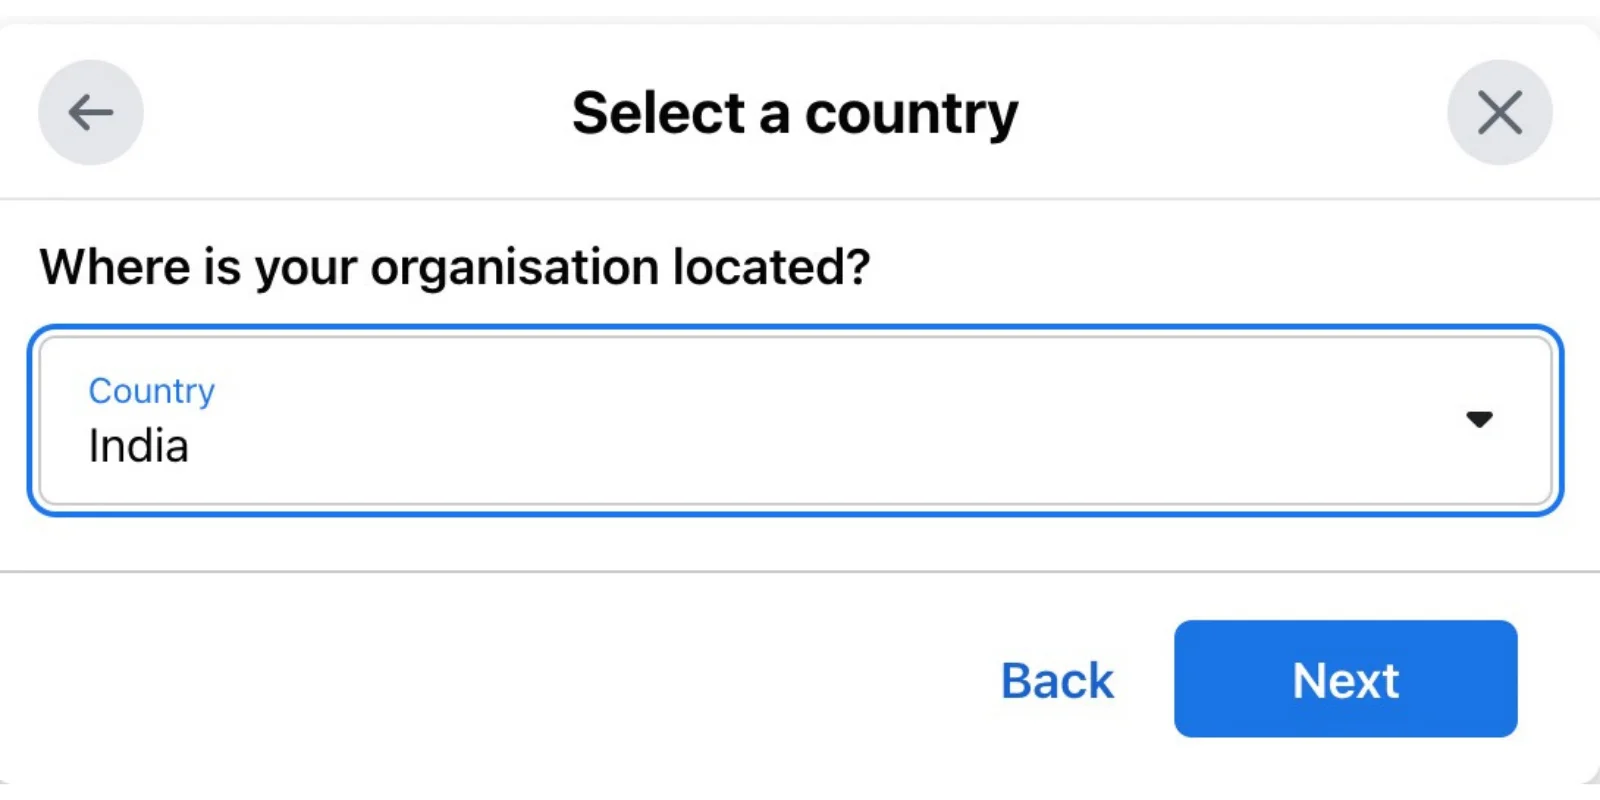
Choose the country where your business is primarily registered or operating.
This should match your legal documents.
Step 8: Enter Organization Details Carefully
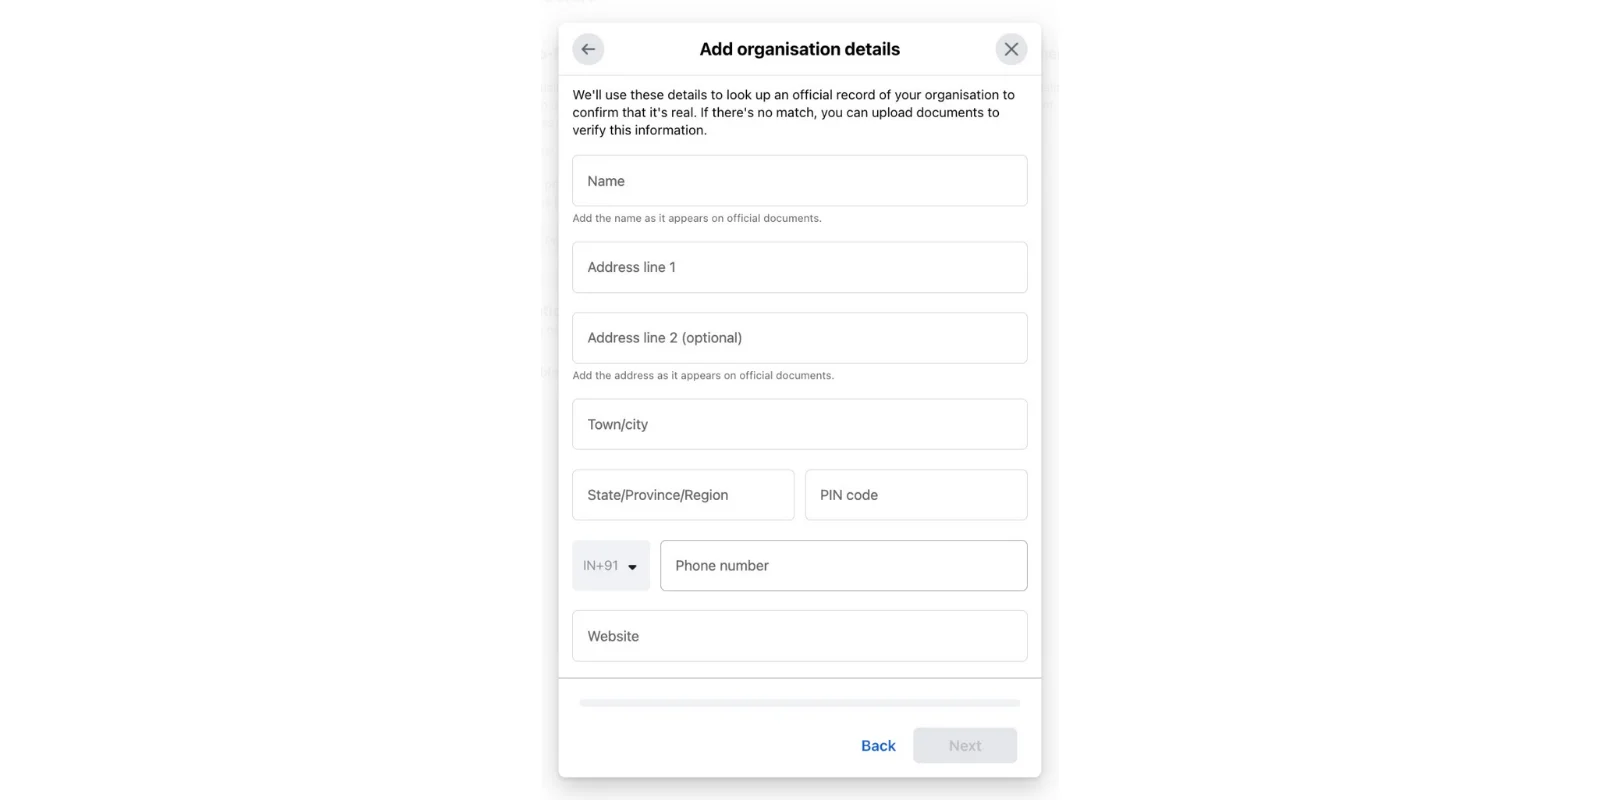
Fill in your organization details exactly as mentioned in your legal documents:
Guidelines to Follow
Business Name:
Must exactly match the legal document
Address:
Use the same address as in your legal document
Do not include state and pincode in the first address line
Add city, state, and pincode in the respective fields
Example:
If your address is:
3013, Chandni Chowk, Sita Ram Bazar, Old Delhi, 110006
Address line: 3013, Chandni Chowk, Sita Ram Bazar
City/State: Delhi
Pincode: 110006
Phone Number:
This does NOT need to be your WhatsApp Business API number
You may add any valid business contact number
Website URL:
Must be active
Footer should display the legal business name for verification
Incorrect or mismatched details may result in verification rejection.
Step 9: Select Your Company (or Choose “Organization Not Listed”)
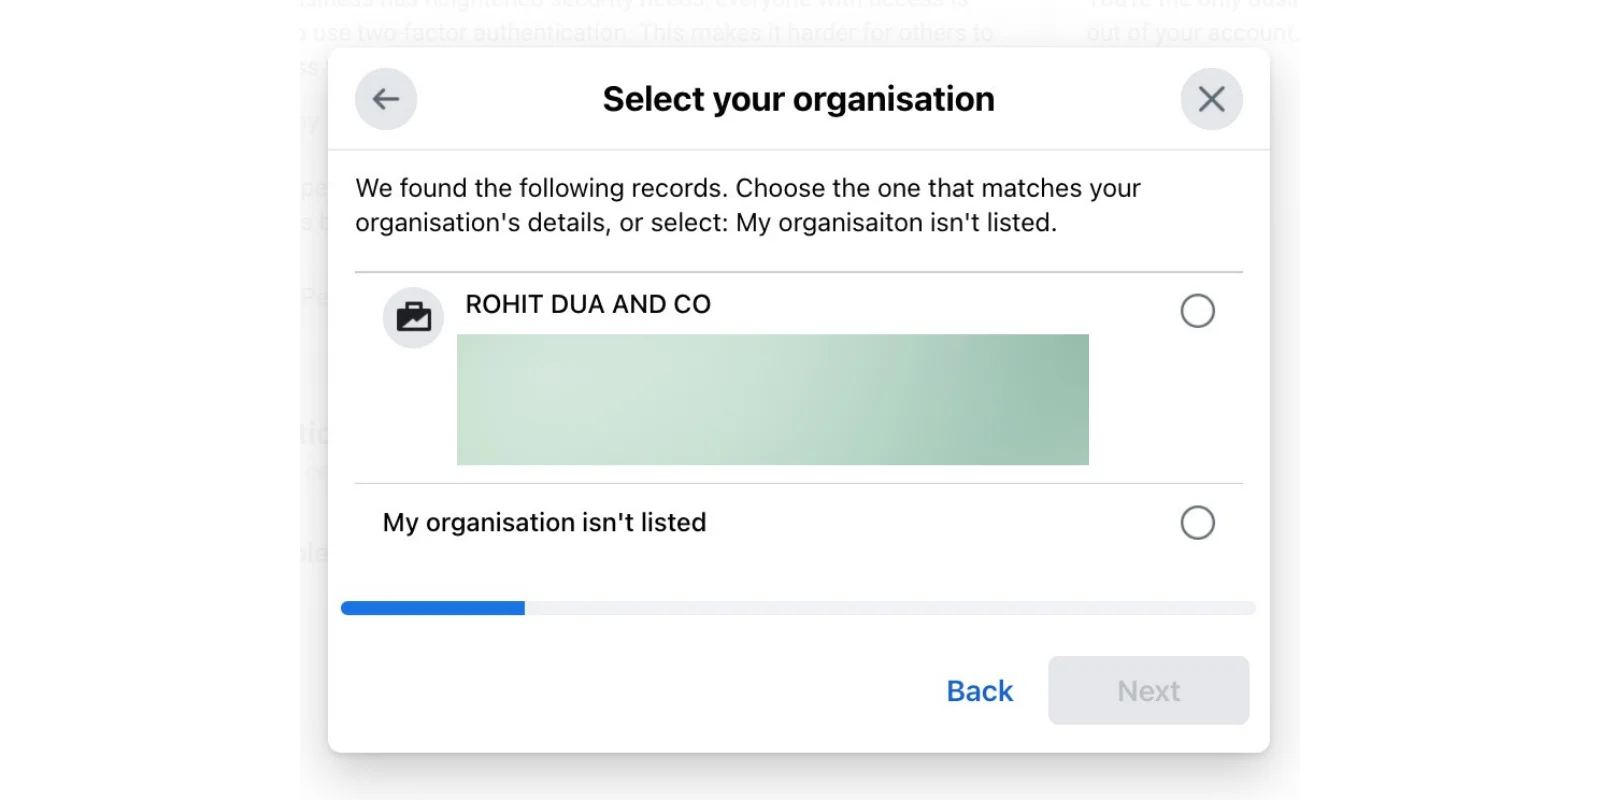
Facebook will show a list of companies matching your entered details
Select the company that exactly matches your business
If your company does not appear:
Click “Organization not listed”
Proceed to the next step
Step 10: Upload Supporting Documents
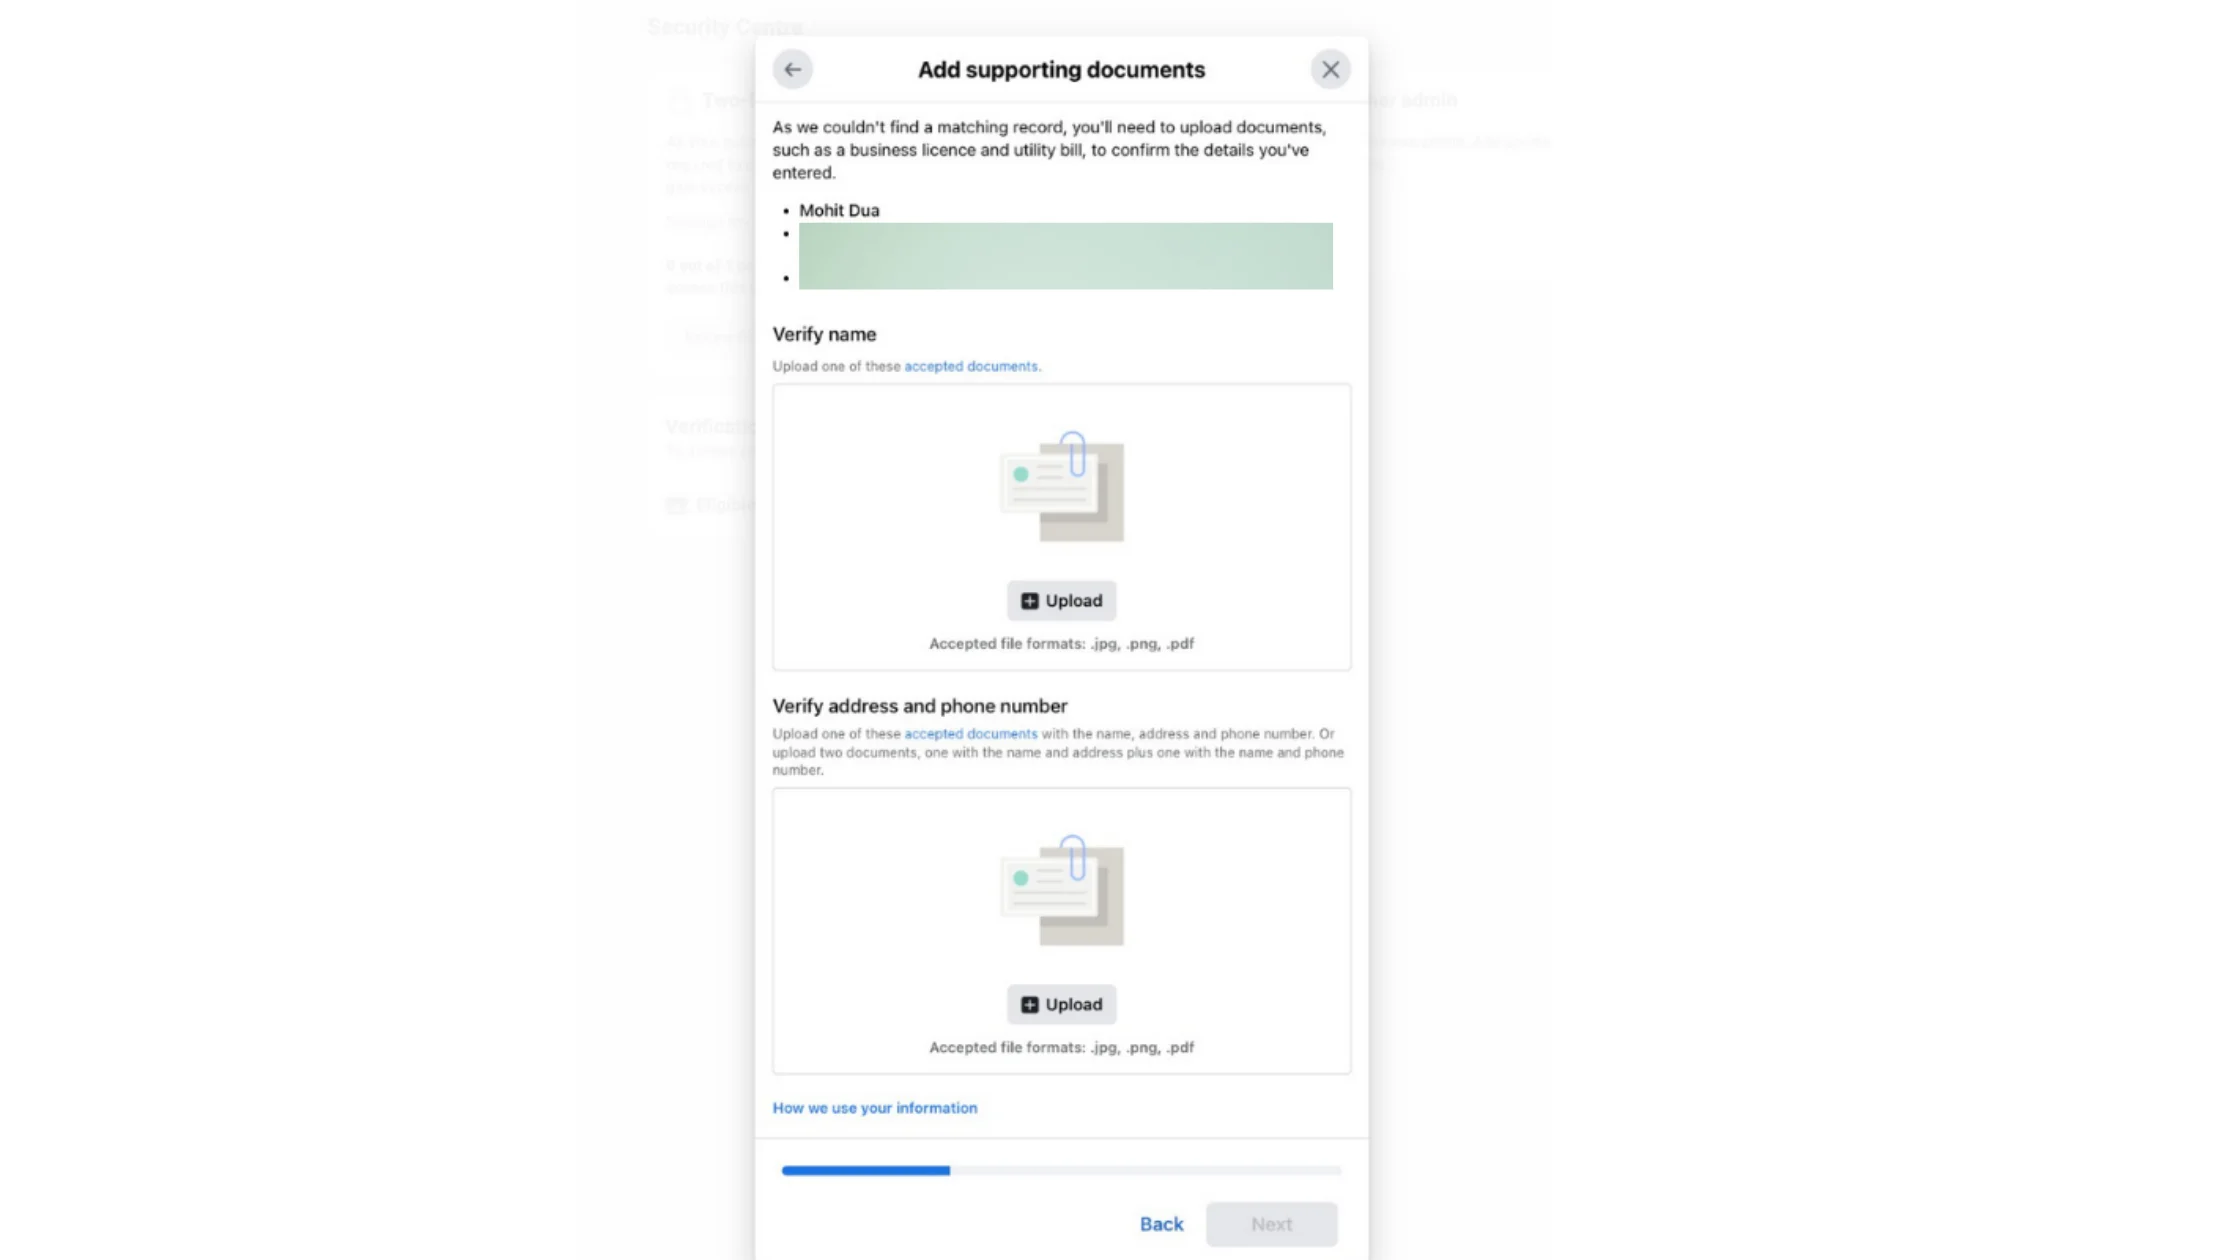
If your organization was not listed:
Upload supporting legal documents for verification
Ensure the same document is uploaded wherever required to avoid confusion
Step 11: Choose a Contact Method
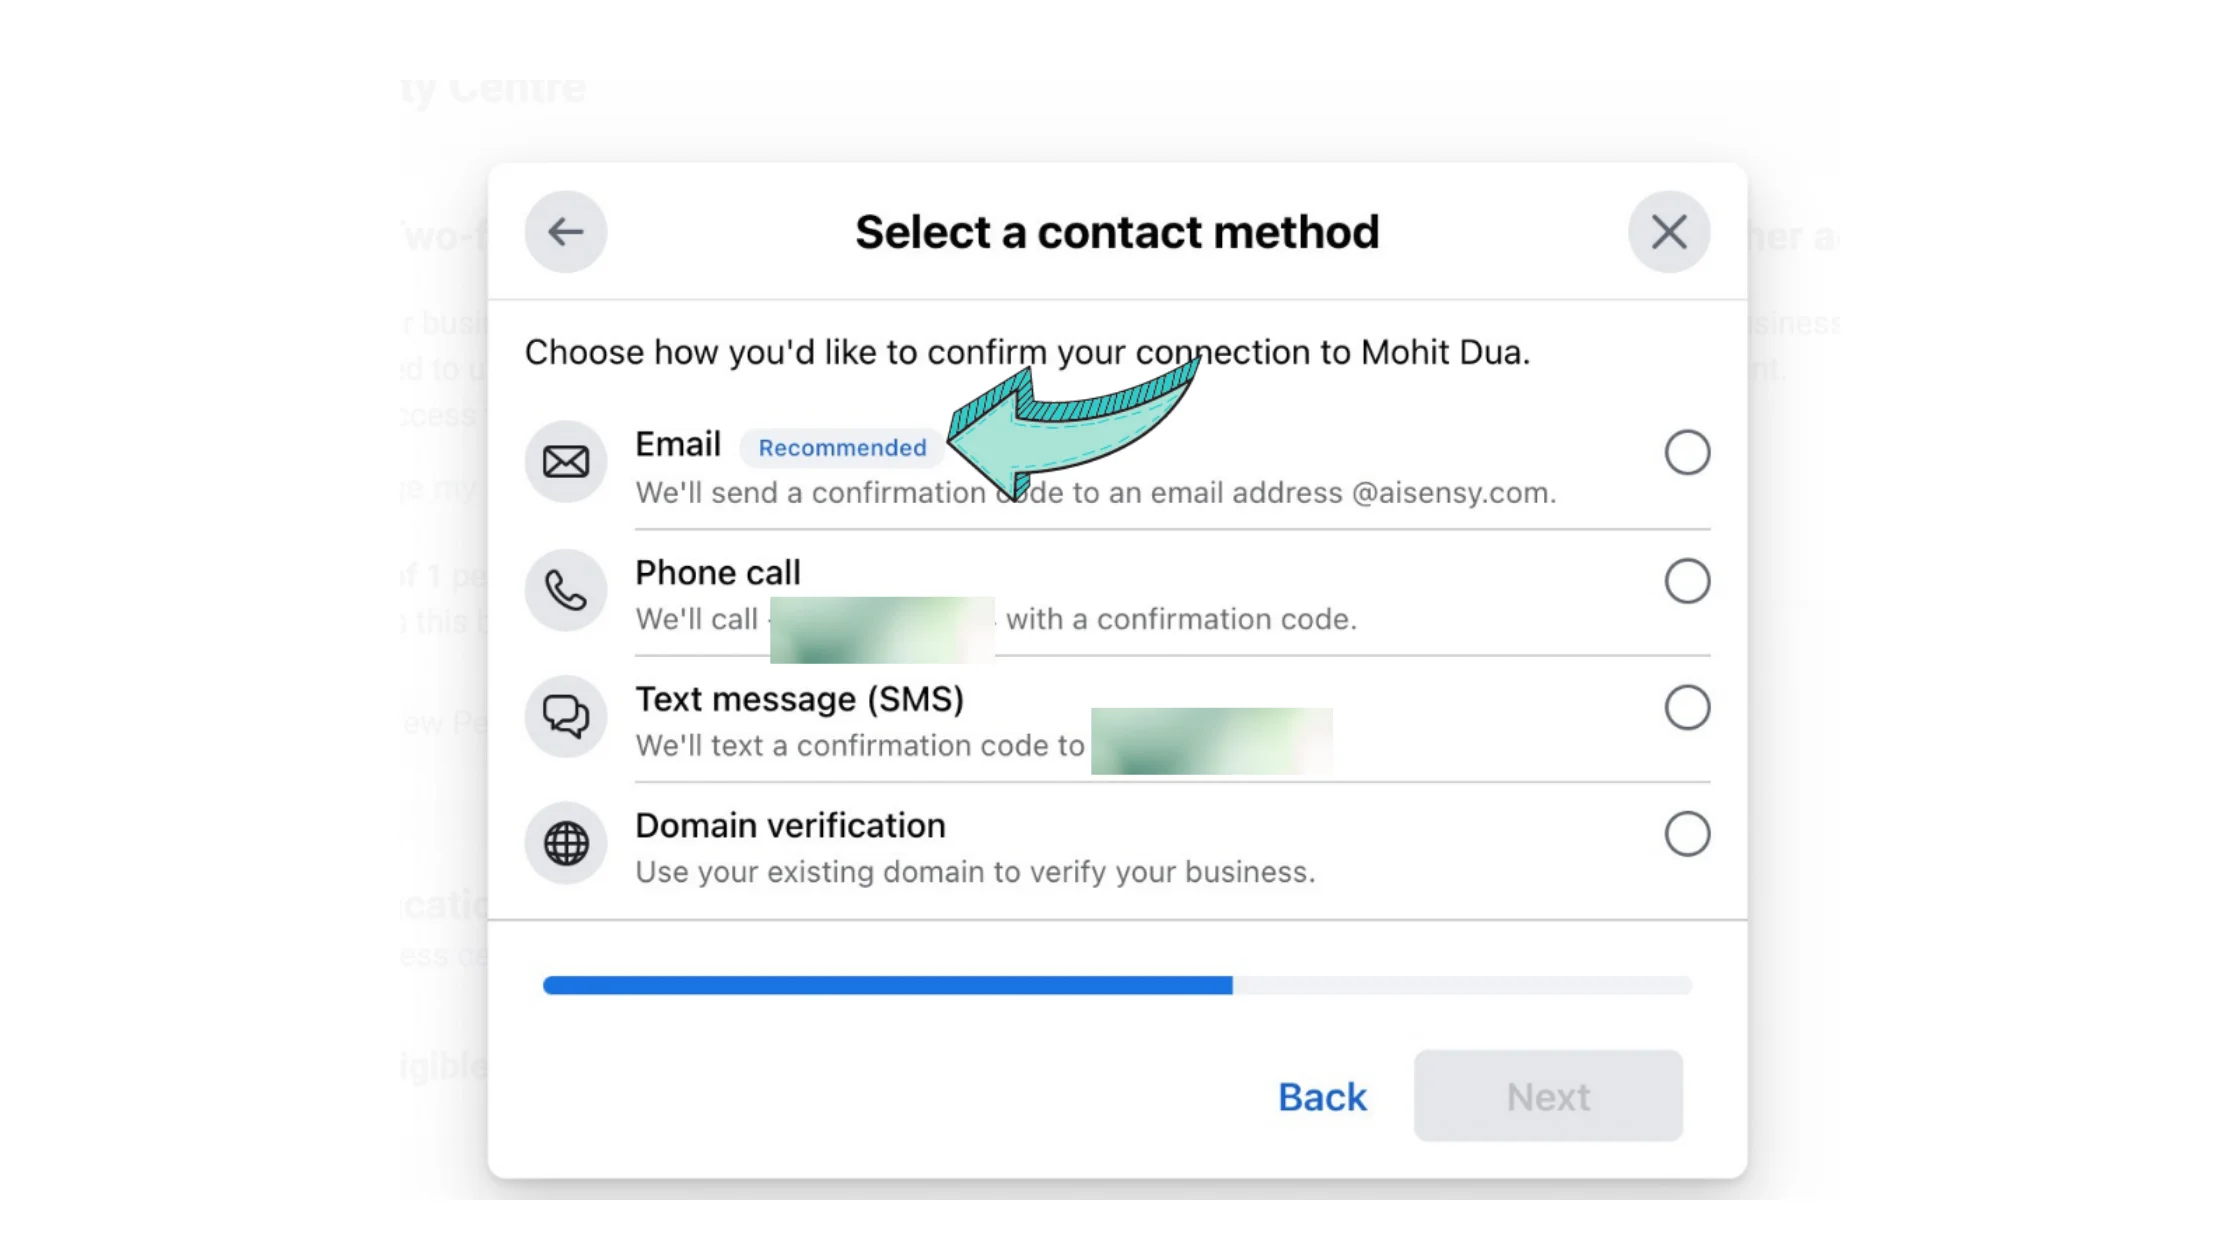
Select how Facebook should contact you to verify your business.
📌 Recommended Option:
Email verification (improves approval chances)
Other options may include:
Phone call
SMS
Domain verification
Step 12: Verify the Confirmation Code
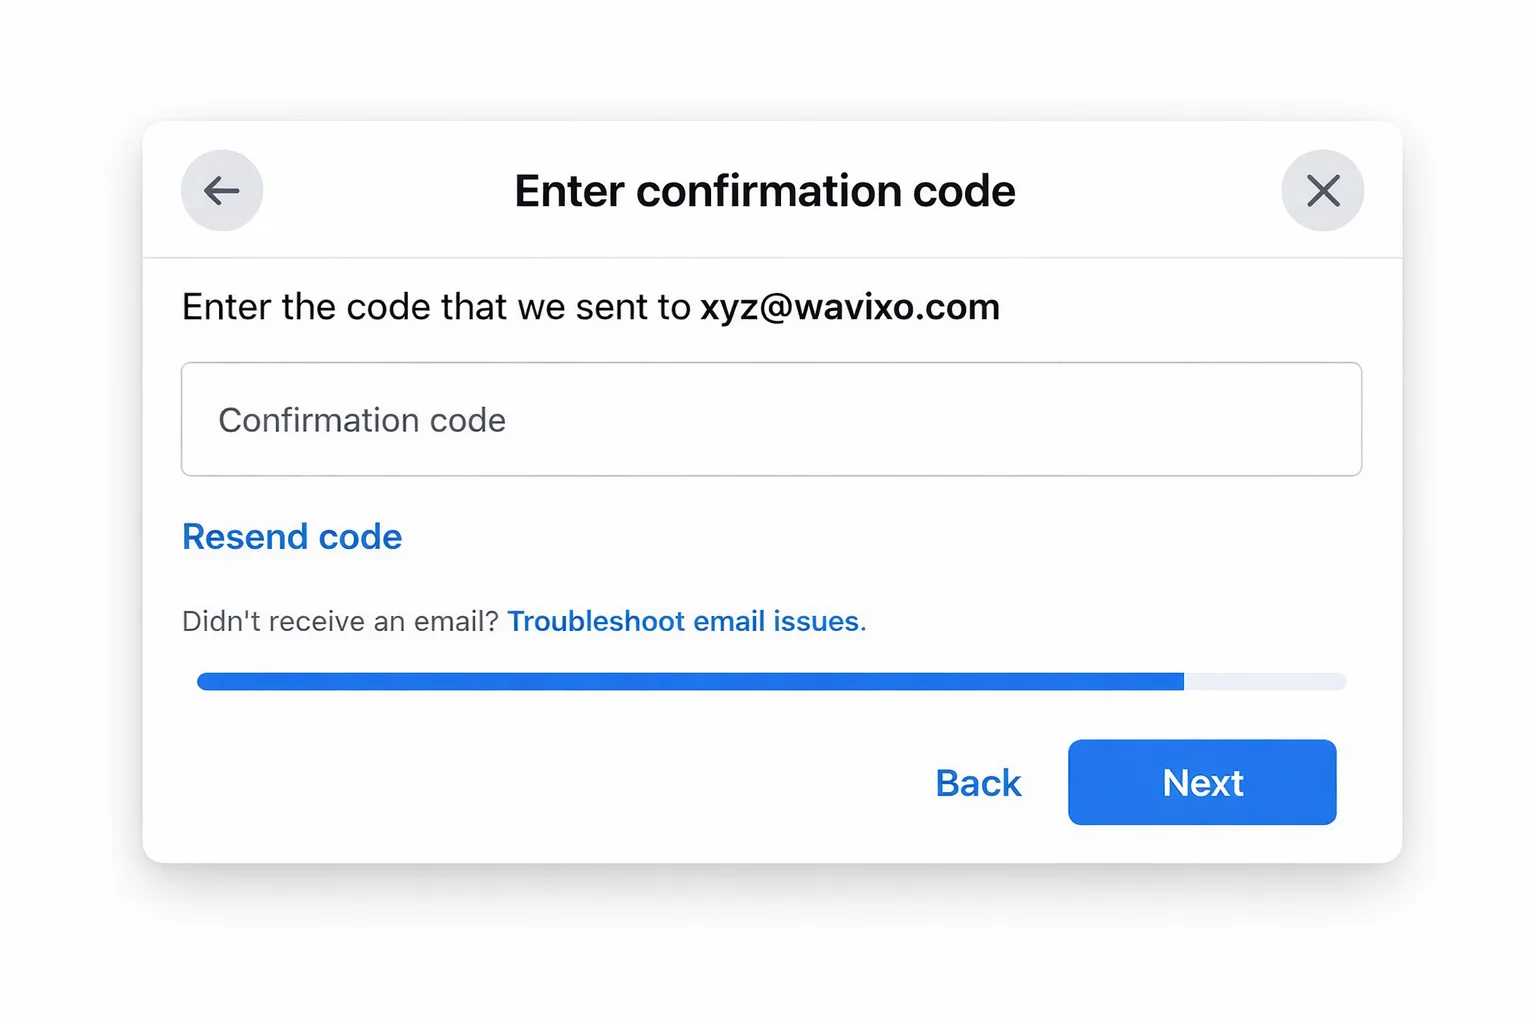
Enter the verification code sent to your selected contact method
This may be:
Email verification code
OTP via SMS or phone call
Once verified, Facebook will process your application.
Step 13: Apply for WhatsApp Business API Using Wavixo
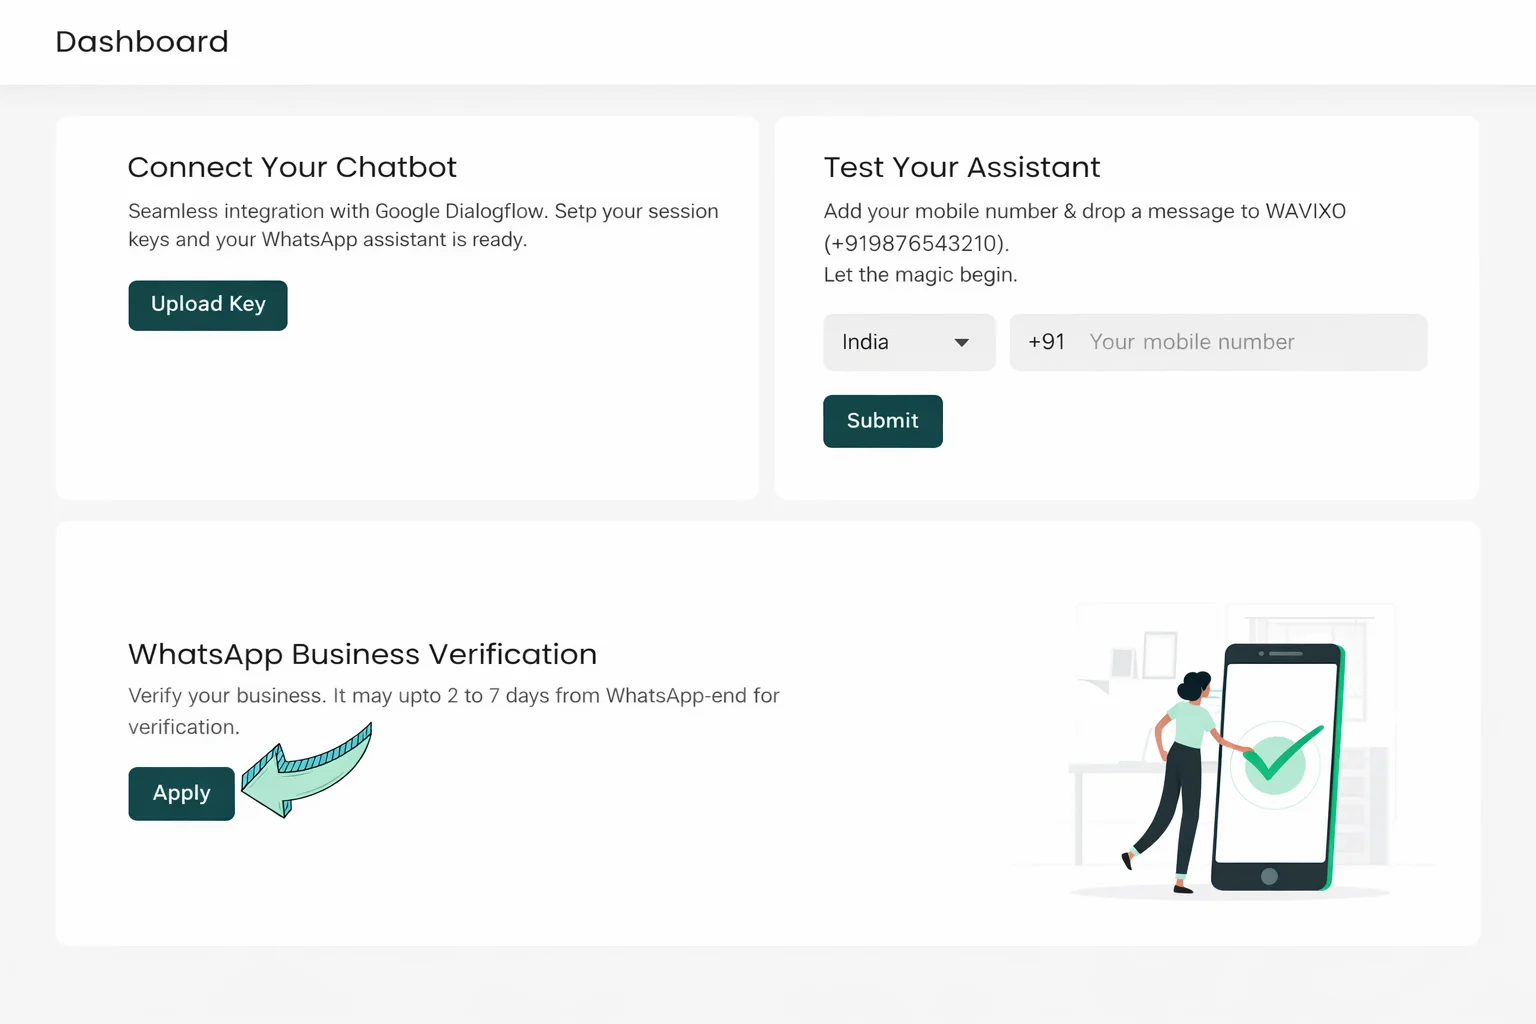
After Business Manager verification:
Apply for WhatsApp Business API using Wavixo
Approval can be completed in as little as 10 minutes
Benefits After Verification
Once verified, you get:
Full access to WhatsApp Business API
Higher broadcast and messaging limits
Ability to scale WhatsApp campaigns without restrictions
You can also explore Wavixo using a 14-day FREE trial, which includes:
Unlimited Monthly Active Users
Access to all core platform features
Free WhatsApp Business API approval
1,000 FREE conversations every month
Related Articles
How to Apply for WhatsApp Business API
WhatsApp Display Name Verification for WhatsApp API
How to Migrate to Wavixo from Another WhatsApp API Provider
WhatsApp Business API: What Is It About?
How to Send Broadcasts Without Facebook Business Manager Verification


Make your Productivity
more efficient. From this time.
Get the Demo and unplash your productivity. Feel Free to get the
latest Technology. Have a good time