Meta Tech Provider
Help Center - Articles Detail
How to Broadcast WhatsApp
Messages in the Wavixo App
A step-by-step guide to sending your first WhatsApp Broadcast
through Wavixo—safely and without risking your WhatsApp number.
If you're looking to send a WhatsApp Broadcast using Wavixo but aren’t sure how to begin, this guide walks you through the entire process from template creation to broadcast analytics.
How to Send WhatsApp Broadcasts in Wavixo Without Getting Blocked
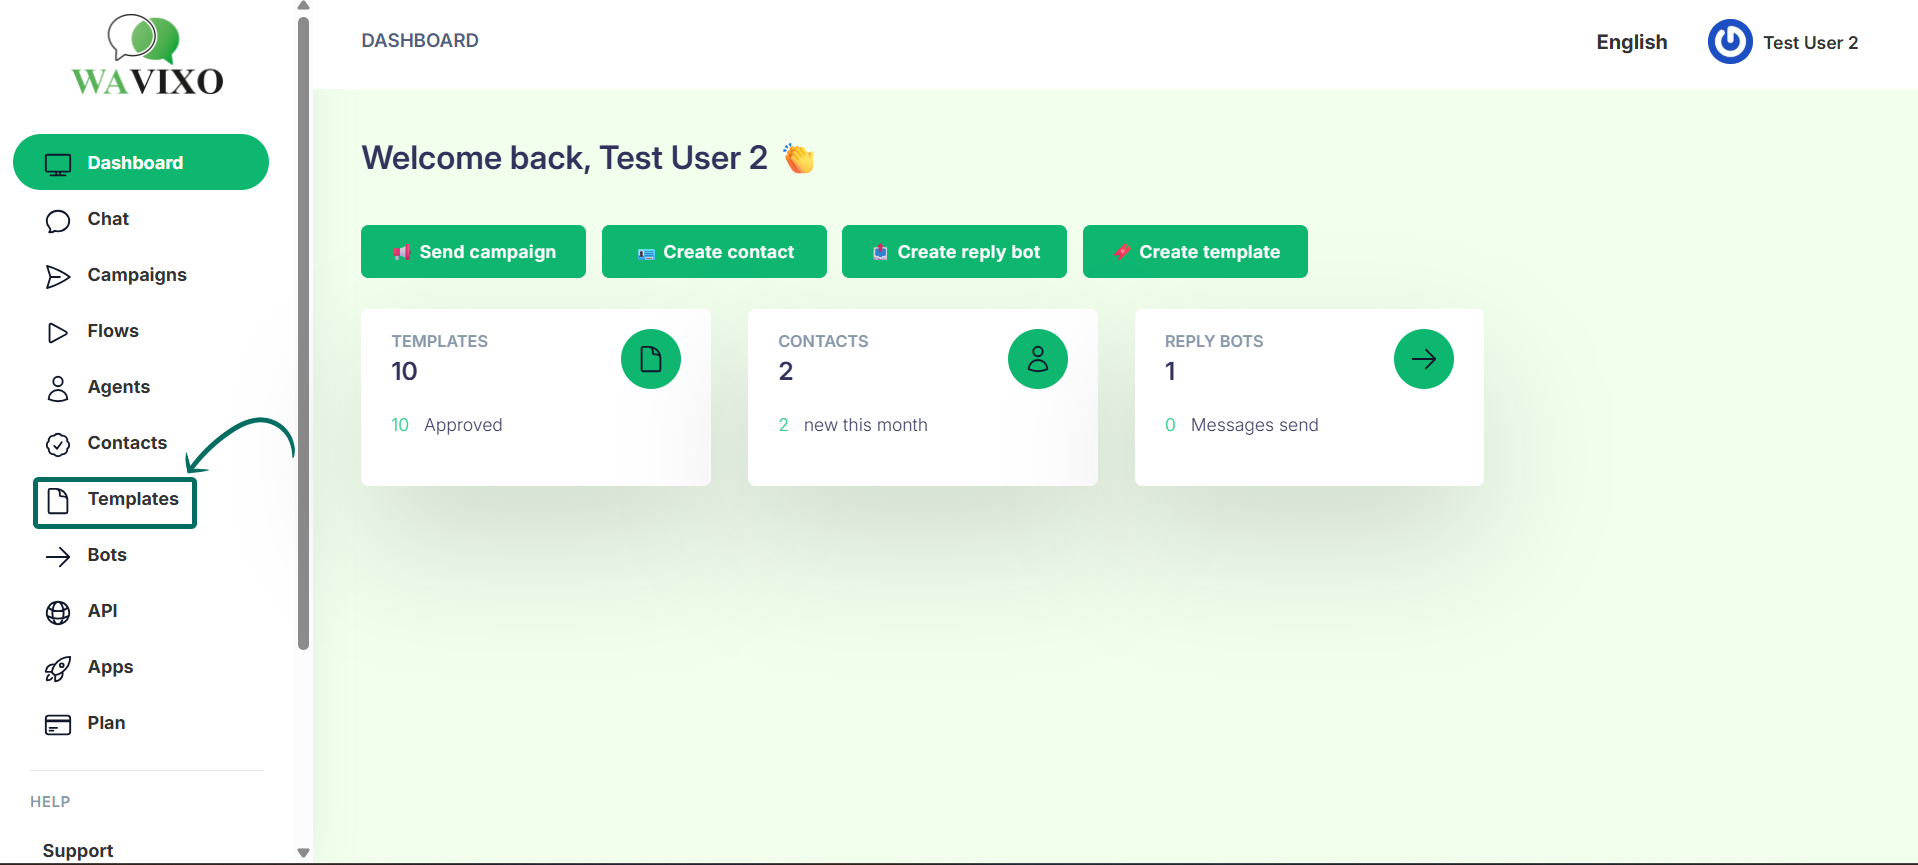
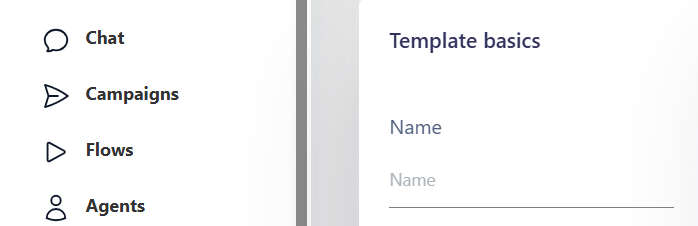
1. In your Wavixo Dashboard, open the “Manage” section
To broadcast messages on WhatsApp, you must first get a WhatsApp Template Message approved—since WhatsApp only allows pre-approved templates outside the 24-hour customer window.
Open:
Wavixo Dashboard → Manage
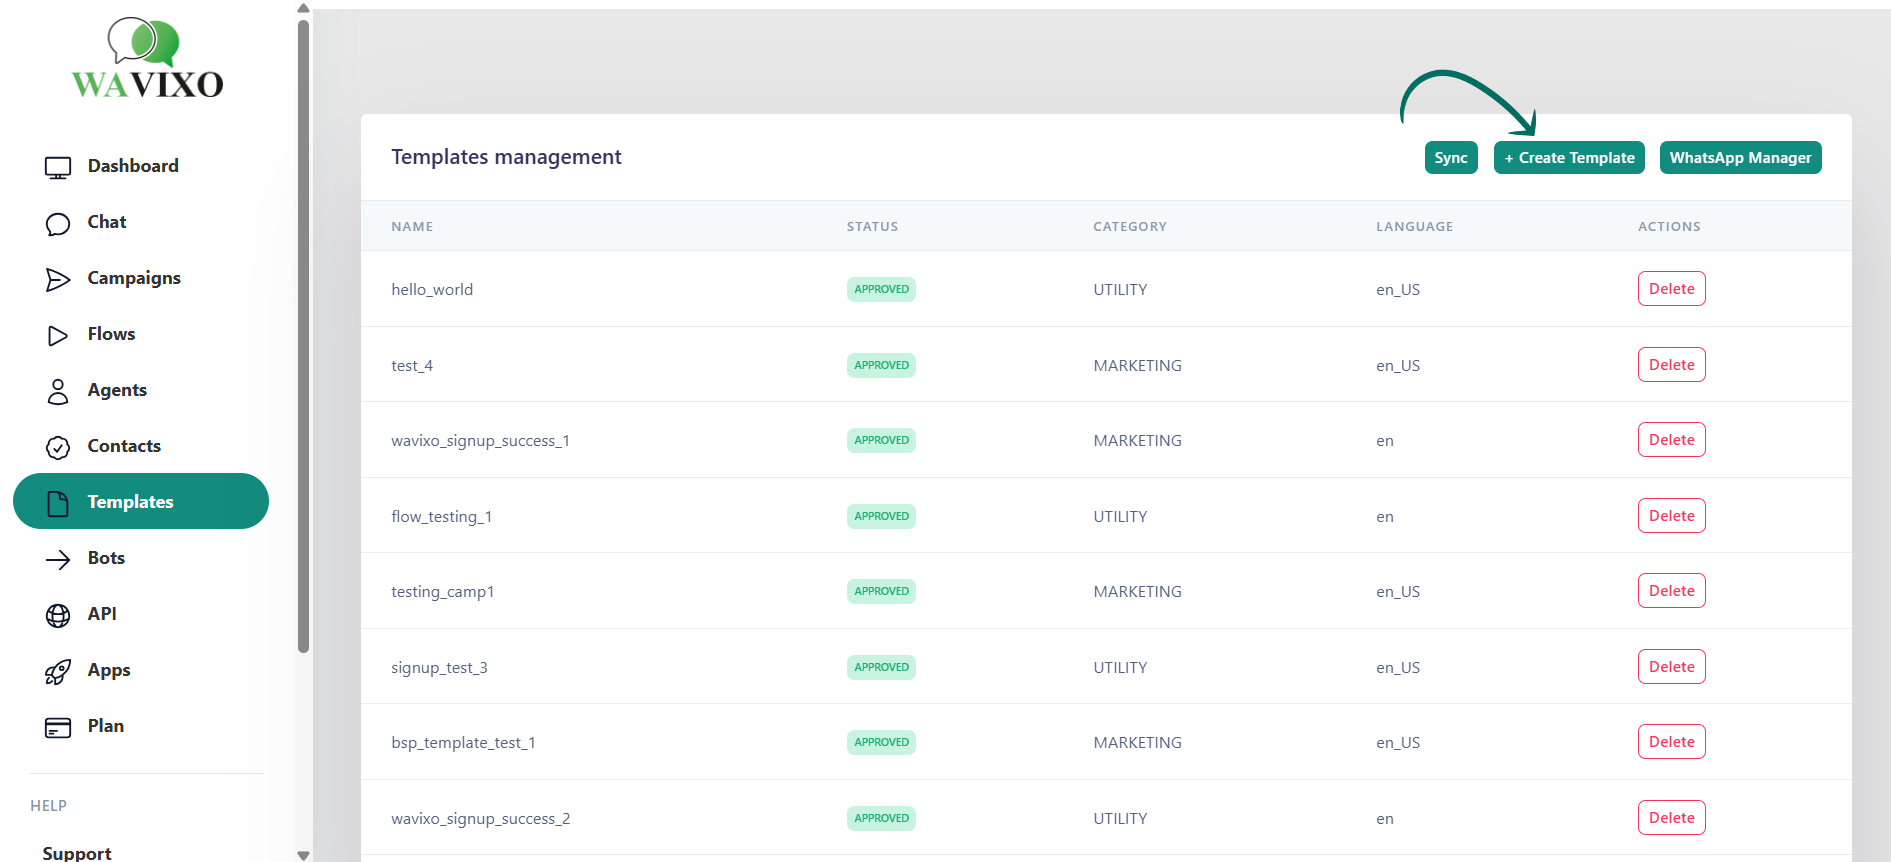
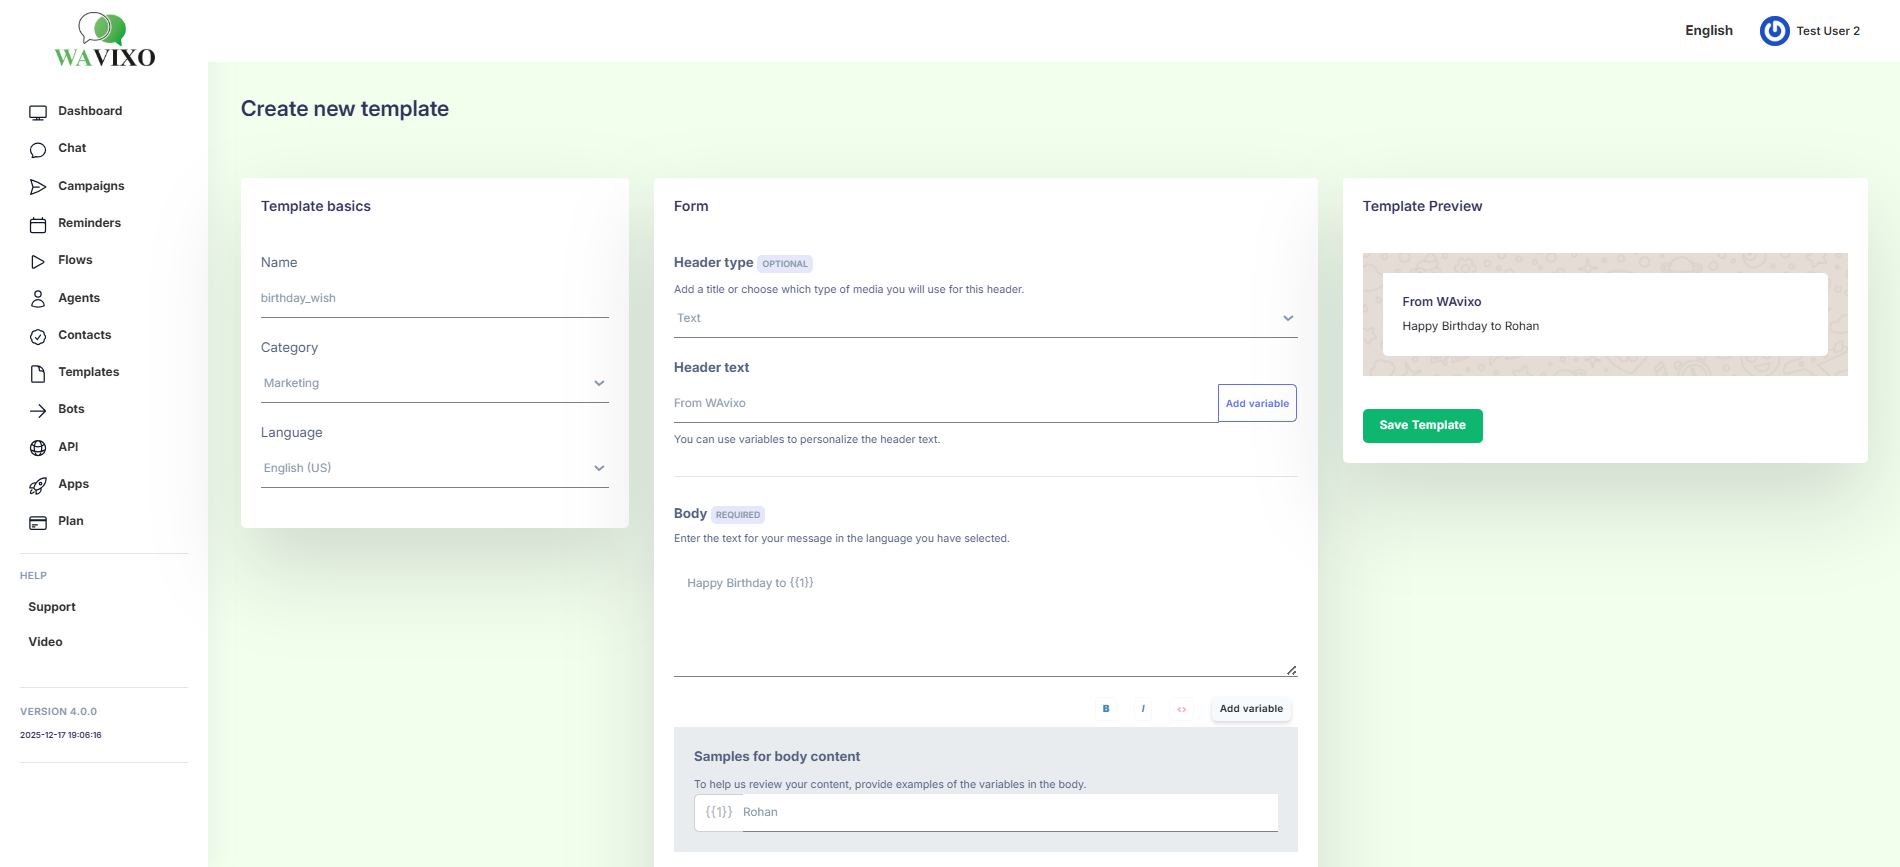
2. Click “+New” to create a Template Message
This opens the Template Message creation form.
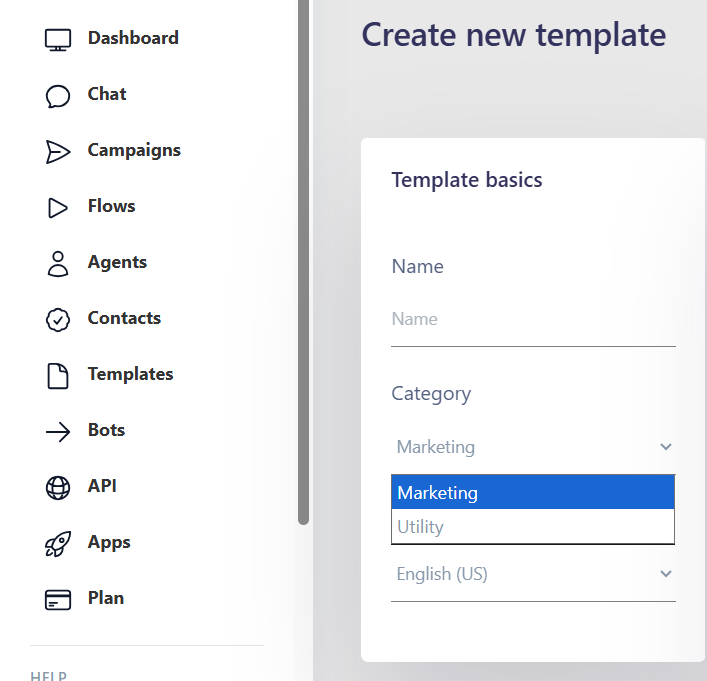
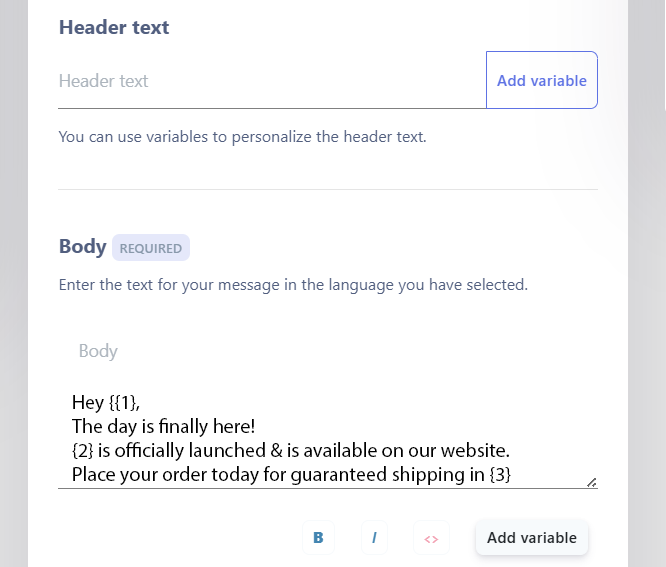
3. Fill in all required fields for the Template Message
You’ll need to enter:
Template Category
Template Name
Template Type
Message Format
CTA Buttons (optional)
Template Language
These details are discussed in depth in Wavixo’s Template Message Guide.
4. Submit your WhatsApp Template for Approval
After completing all fields → click Submit.
5. Check Approval Status → Go to “Approved” → Click “Sync Status”
This ensures the latest template status is synced from WhatsApp.
Your message must show APPROVED before you can broadcast it.
6. Go to the Contacts Page & click “Import”
Once your template is approved, import your contacts into Wavixo using a .csv file.
Open:
Contacts → Import
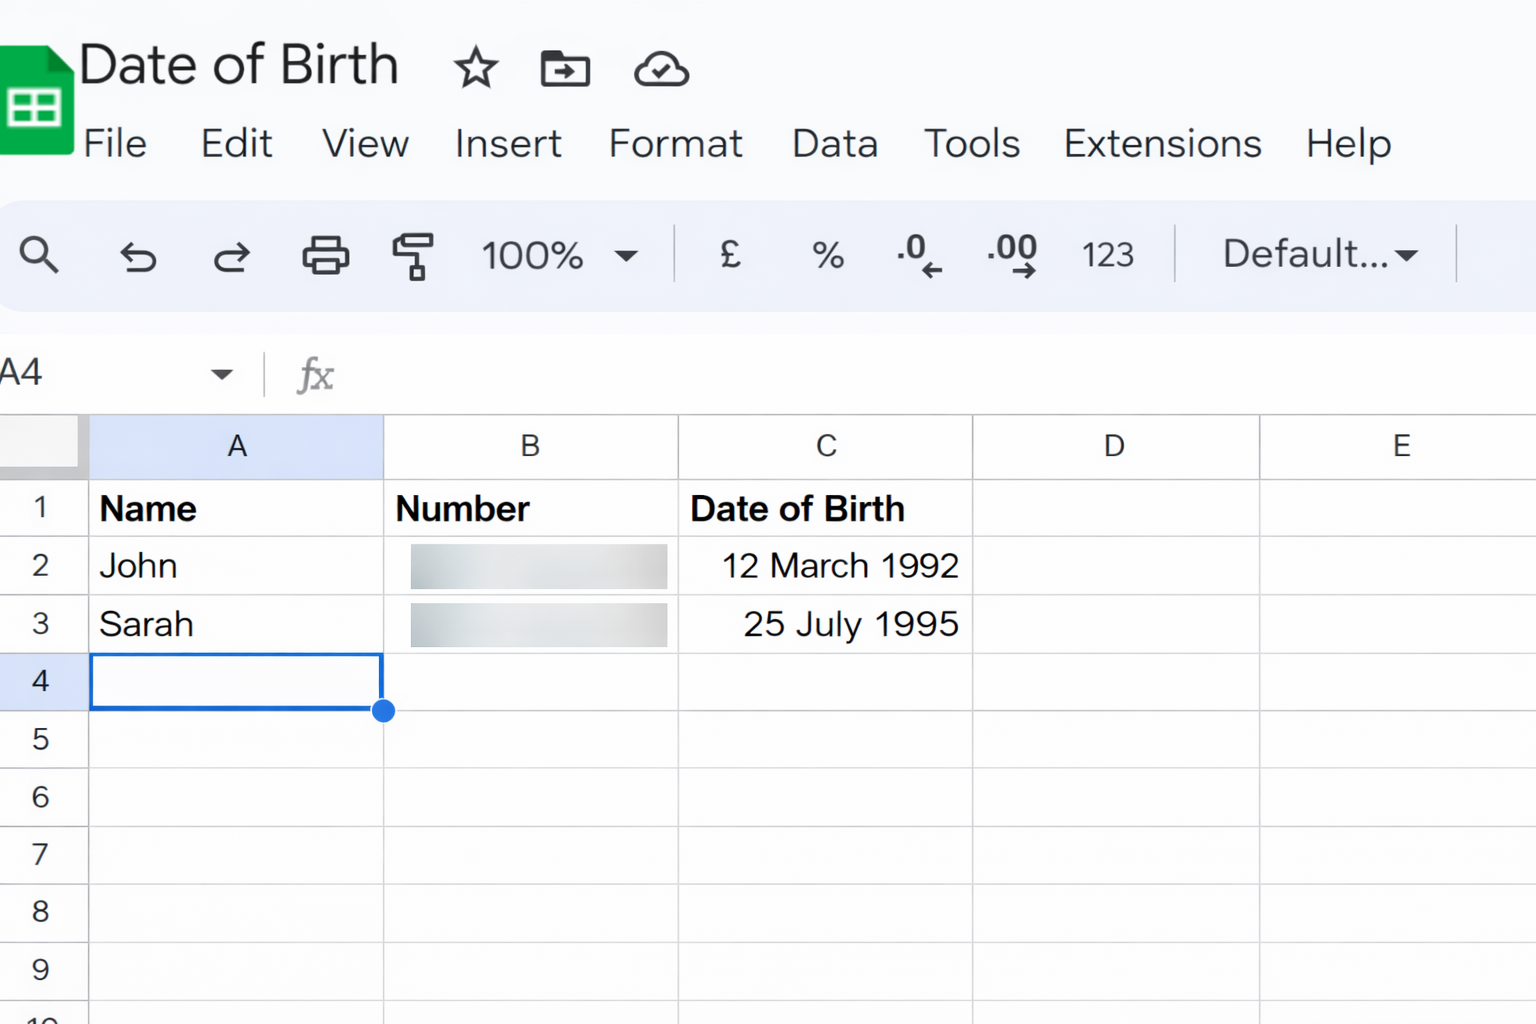
7. Prepare Your Contact List in Google Sheets (or Excel)
The simplest way to upload contacts:
Add your contacts into a spreadsheet
Include important columns like:
Name
Mobile Number
Tag (recommended)
Adding a tag helps you easily filter new contacts during broadcast selection.
(Page 5 includes a screenshot showing a “leads” tag being added.)
If you're unsure how to add contacts in Wavixo, refer to the contact-upload guide.
8. Download Your Spreadsheet as a .CSV File
Go to File → Download → .csv

9. Upload the .CSV File in Wavixo
Click Upload File and select the .csv file you just downloaded.
10. Map Your Columns to Wavixo Attributes
Example attributes from the file:
Name
Mobile Phone
Tag
Make sure each column maps correctly—wrong mapping can result in import failure.
11. Filter Your Contacts for Broadcasting
Once contacts are imported, click Filter to segment your audience.
You can filter based on:
Tags
Opt-in status
Created date
Last seen
Incoming blocked
Other custom attributes
12. Select the Attribute You Want to Filter By (e.g., Tag)
If your imported contacts used a common tag like “leads”, select:
Attribute → Tags → Leads
Then click Apply (Page 8).
13. Apply the Filter
After applying, you’ll see only the contacts matching your selected attribute
14. Select the Contacts & Click “Broadcast”
You will now see all filtered contacts (e.g., 19 contacts shown on page 9).
Click Broadcast to start creating your broadcast campaign.
A small dot above the filter icon indicates the filter is active
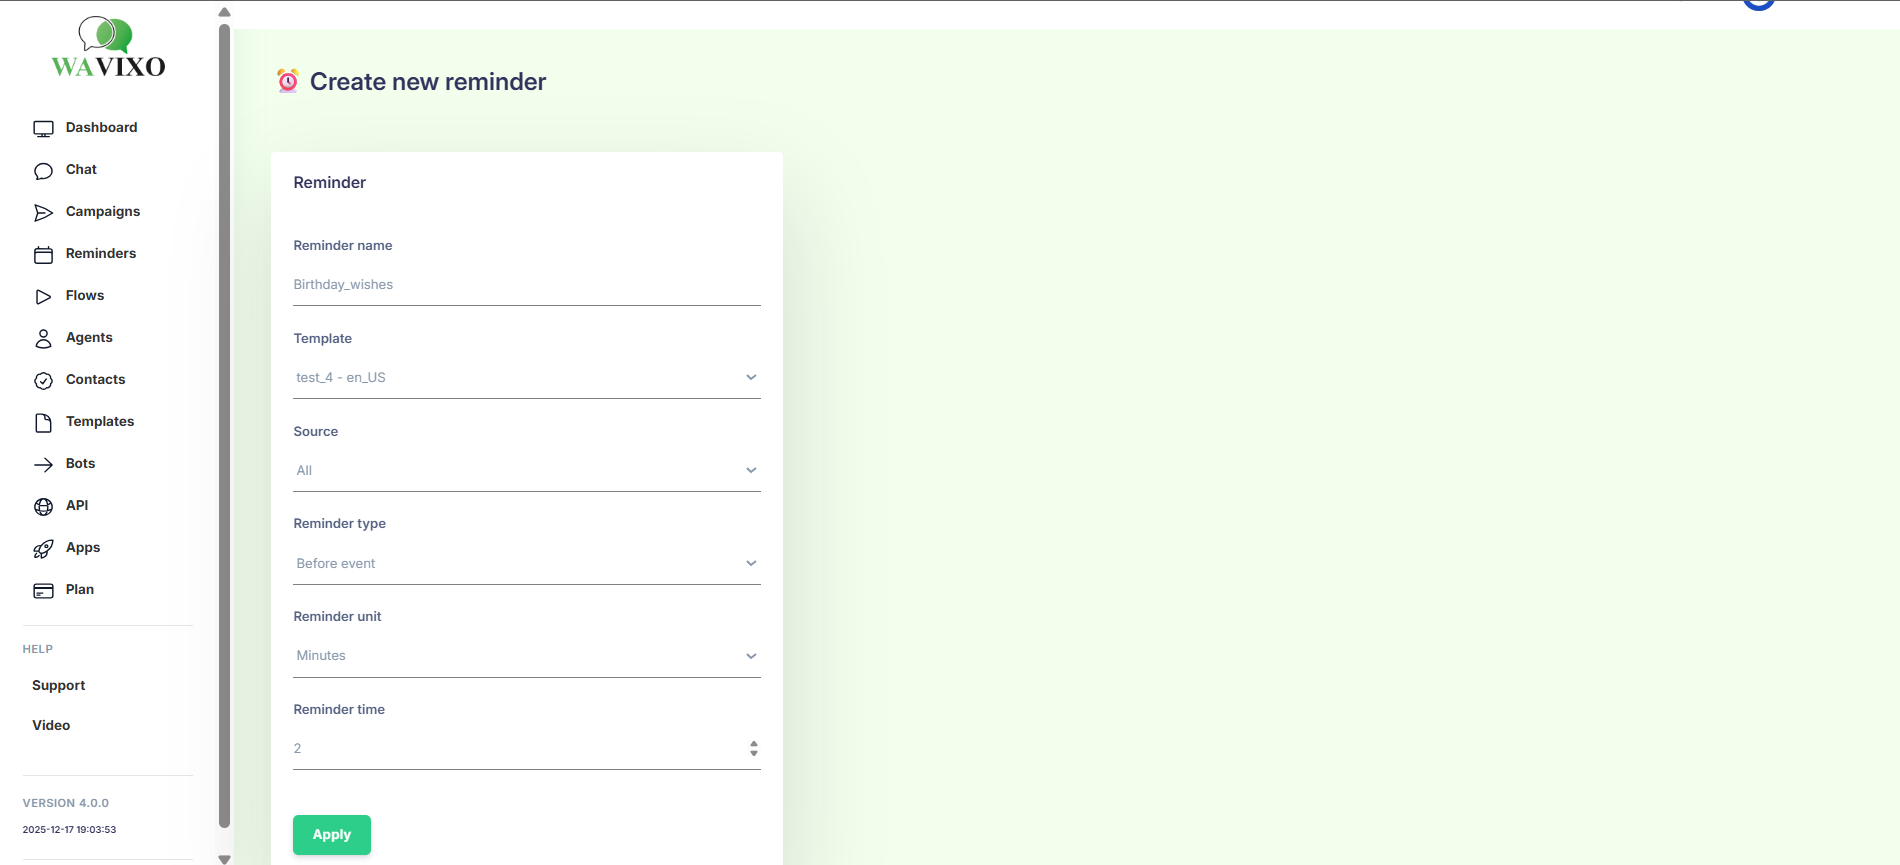
15. Add Campaign Name & Choose a Pre-Approved Template Message
Enter:
A unique campaign name
The approved WhatsApp Template Message you want to use
16. Add Parameter Values & Attach Media (if required)
Template variables like {{1}}, {{2}} must be replaced with actual values.
You can also personalize messages using Wavixo’s attributes, like:
$FirstName
$Email
$Country
Wavixo Media Storage Limits:
Basic Plan: 1GB
Pro Plan: 5GB
Enterprise Plan: 10GB
17. Verify Your Broadcast & Click “Send Now”
Once everything looks correct, click Send Now.
Pro users can also Schedule broadcasts up to 2 months in advance.
18. Track Broadcast Analytics
After sending, click Go to Campaign to view analytics.
You can check:
Sent
Delivered
Read
Clicked (Pro feature)
Replied
Failed
Page 12 shows the full analytics dashboard.
Analytics help you measure performance and retarget users for higher conversions.
19. Retarget Users Easily
Using filters like “Read but no reply”, “Clicked but not purchased”, etc., you can retarget users for 7× higher conversions.
Related Articles
How to schedule WhatsApp Broadcasts in Wavixo
How to Opt-in & Opt-out users from Broadcasts
WhatsApp Broadcasting Rules
How to Create a free Wavixo Account?
WhatsApp Co-existence: Everything You Need to Know


Make your Productivity
more efficient. From this time.
Get the Demo and unplash your productivity. Feel Free to get the
latest Technology. Have a good time